Advisory Note

Please Note: This blog contains poorly painted toy soldiers that may offend those of an aesthetically sensitive disposition.

Showing posts with label Red/Blue Campaign. Show all posts

Sunday, 3 September 2023

Red/Blue Mini Campaign Pt 3: Going Off Piste

 For the final Act of the Mini Campaign we diverge, for reasons of narrative, from the prescribed route; the Director's playing fast and loose with the script.

After the defeat at Blueville, the remainder of Army Red's invasion force is retreating towards their pontoon bridge. For purposes of the game, Red must get three of four units across the bridge to succeed. They have two units on the other side of the river who can give supporting fire but cannot cross the bridge. Blue will arrive two units at a time on turns 2, 3 and 4 at predetermined points on the board.

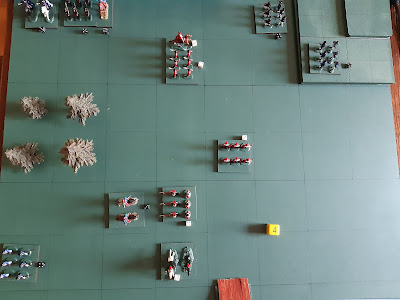
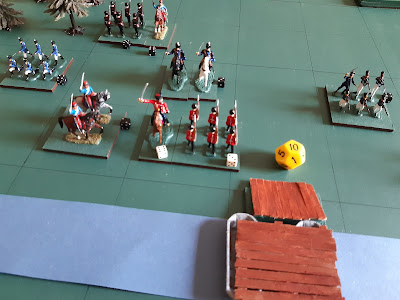
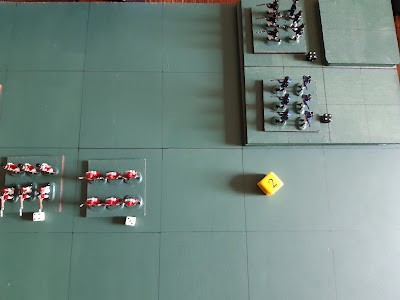
Redinan troops heading for the bridge

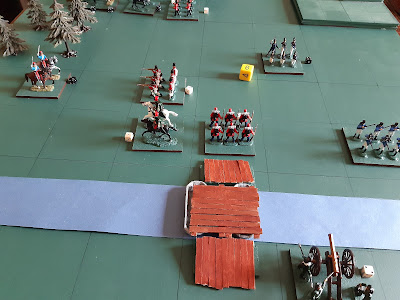
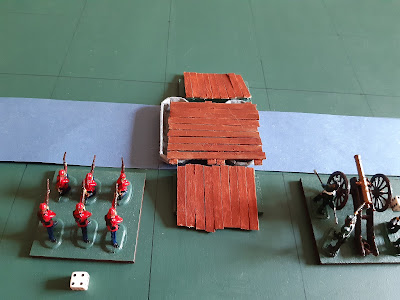
Fresh troops offering covering fire

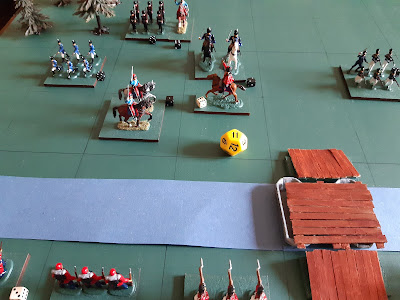
Bluvian forces arriving

All of Blue's units are on the board

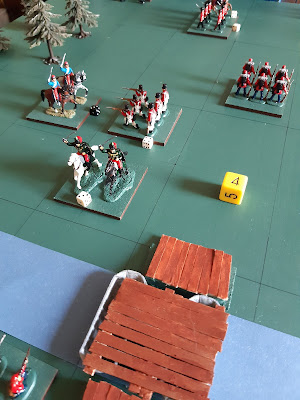
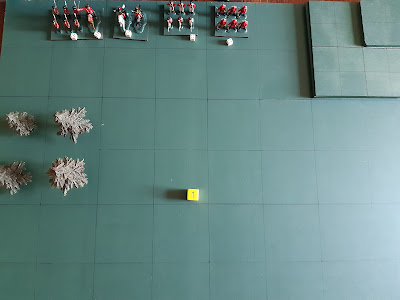
Red's Hussars look ready to exit, however they're taking hits from their flank


Red's Hussars act as cover for the Line Infantry who are retreating returning fire.
The Red Guards are embroiled in a fight to the rear. 

The Line Infantry make it but the Hussars are destroyed


As the day wears on Red's second infantry unit makes it to the bridge -
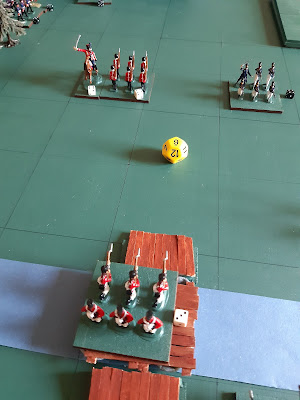
they just need to get the remaining Guards across to win.


Blue's Cavalry have other ideas and Red's Guards are harried as they hurry towards the bridge

Defeat for Redina! 

Despite the withering fire being given from the Redinan side of the Boundary River, the Guards were defeated before they could escape providing a victory for Bluvia. Admitting defeat, Red's engineers blew up the Pontoon Bridge leaving their General a captive of the Bluvians. A highly entertaining Mini Campaign, courtesy of Martin Smith, with a minor trip off piste at the end.

Sunday, 27 August 2023

Red/Blue Mini Campaign Pt.2: OHW Sc 14

 Having defeated the Bluvian brigade that threatened their bridgehead, the victorious Redinan Army dispatched a force to Blueville to root out the Radicals that were thought to be based there.

The Red General left half of his men on a nearby hill to cover his retreat and led the remaining force to the town. He found the town undefended but his search for the treacherous activists proved to be fruitless. To make matters worse, before he could withdraw a strong Bluvian force arrived...


The Blue General led most of his force against the town, and his attack began to cause casualties despite the exposed nature of the countryside around Blueville.

On the left, a fierce artillery duel saw the destruction of Red's guns, allowing Blue to concentrate on the town almost unmolested. 

 By midday the town was almost surrounded. Red's force on the hill had been ordered to hold position and could only offer some ineffective fire at Blue's units moving to the rear of the town.


As casualties mounted, the Redinan's fought on, hoping to flee under cover of night. 


 By the end of the day, however, Blueville was recaptured along with the defeated Reds.


The Red troops left on the Bluvian side of the river now needed to make their escape...

Monday, 21 August 2023

Red/Blue Mini Campaign Pt 1: OHW Sc 8

 The series of games to be played in this latest Mini Campaign are once again scenarios from Neil Thomas's One Hour Wargames that have been linked by Martin Smith (Mini Campaign number 2 - see HERE ).

The starting game is Scenario 8, Melee. The games will be fought using a variation of Bob Cordery's Portable War Game, with EP being set at 50% to reflect the OHW rules' lack of morale testing.


Game

Red's scouts have identified a hill overlooking the Redinan bridgehead that could offer Blue a position to bombard the ingress/egress point. Field Marshall Plann, overseeing Red's invasion, orders the hill to be taken and held. A small force is at once positioned on the hill with more troops to follow.

Bluvian forces, under General Moteures, are also aware of the strategic importance of the hill. Blue's troops begin to arrive.


Red's artillery are in position on the hill so Blue attempts to quickly outflank Red by rushing up the road. Blue's Light Infantry head across country aiming to establish themselves in a small wooded area on the edge of the hill.

Red's additional troops begin to arrive and there is a clash of cavalry on the road. The subsequent cavalry melee resulted in the decimation of both units who played no other part in the battle.

Red's artillery is moved to counter the flank attack and comes under attack from Blue's Light Infantry. Meanwhile, more of Blue's forces arrive and approach the objective.

A desperate uphill dash by Blue's cavalry attempts to buy some time for the Infantry. Note: both sides had a battalion of Guards who start on 5SP in my "Toy Soldier" PW rules to reflect their toughness.


With time getting short, Blue resorts to charging in with fixed bayonets. Red's artillery have finally been removed by the skirmishing Blue Light Infantry.


Red's Line Infantry waver however the Guards and Highlanders hold position.


 By days end it was clear that Red were not going to be removed from the hill (apologies for the blurry picture). Blue withdrew his remaining troops leaving the hill firmly in Red's hands. In the meantime the bulk of the Red force marched on to their main objective, the town of Blueville.


Saturday, 19 August 2023

Return to the "Red/Blue Campaign" World

 Back in 2020 I had some fun fighting a short campaign using the map featured in SHAM-BATTLE by Dowdall & Gleason. 


The war was originally going to be named The SHAM Campaign but ended up being called The Red/Blue Campaign and the battles can be located using that label.

Here's the original Campaign Map (made simply in Excel) along side the SHAM-Battle version.


In the very first battle, Bluvian forces managed to destroy the bridge that linked Red City and Blueburg and, three years later, it has still not been rebuilt; relations between the Kingdom of Redina and the Bluvian Republic are still very poor.

This is the current map; I have added a couple of small towns to the original and marked where the newfangled railway lines have been constructed - the white heat of Steam Technology has arrived!


Recently the Government of Redina have been demanding the extradition of certain Radicals that had fled Rediton during the war. These revolutionary types have established themselves in the small town of Blueville and set about publishing pamphlets calling on the Redinan populace to rise up against the monarchy and declare a Republic. 

The Bluvian government refuse point blank to cooperate with their old enemy's demands and have put the military on high alert. Bluvian spies report a large build up of Redinan forces near the Eastern City of Redville suggesting that Red will attempt to march across the bog road and invade Blue via the East bridge.

In fact, the Eastern build up is a cunning ruse, a sham if you like. Early in the morning on the 19th August, Redinan Engineers built a pontoon bridge across the Boundary River somewhere West of Blueville (grid C4) and Red's troops, having rushed by train from Redville to Reding, are now marching into Bluvia...

(Why didn't they just jump across? - Ed.)


Redina's Ministers have warned the King that the country is not financially strong enough for a protracted war; the objective is therefore to capture and/or eliminate the Revolutionary cell in Blueville, and give the Bluvians a bloody nose.


Saturday, 9 July 2022

Return to OHW Scenarios

 A new post has appeared on my One Hour Wargames blog for those interested in such things.

Please break camp and relocate HERE.

A previously unreported battle in the Red/Blue Campaign perhaps..


Wednesday, 19 August 2020

Red/Blue Campaign Turn 8 & The Last Battle


Turn 8 was to see the remains of the Bluvian Division C pursue the remnants of the Redinan 2nd Division to the Middle Bridge. Here Army Red turned and gave battle (Game 7).

Red had begun to cross the river but quickly drew up to guard the bridge

Blue stormed forward inflicting casualties from the off

Reds mad cavalry charge attempts to spike Blue's guns

Blue continues to rack up hits on Red's troops..

..and at the end of Turn 4 (!) Red is at Exhaustion Point! Unable to retreat they stand and fight


The battle raged on until..

..at Turn 9 Blue reached EP. Red had stopped the crossing but at a huge price.

The invasion of Bluvia by the Kingdom of Redina had failed. The King was forced to sue for peace. There is talk of Bluvian boffins designing fortifications for the river crossings and the Redinan military investing in pontoon bridges. Both states are hastily building railway connections to the border. How long the shaky peace lasts is debatable.  

Saturday, 15 August 2020

Red/Blue Campaign Turn 7


Campaign Map - Turn 7


Having been surprised, and defeated, by a Bluvian force whilst probing the way East (see the last blog post), the remnants of a Redinan brigade is falling back to join the battered 2nd Division. Hotly pursuing them are a larger Bluvian force, the Advanced Guard of Blue's Division C. Red has been ordered to give ground slowly and keep Blue occupied to give time for a defense to be pulled together around the Middle Crossing of the Boundary River. Blue is unsure of the numbers of troops in front of them and is advancing cautiously. 

The Scenario is number 5 in the late Stuart Asquith's Military Modelling Guide to Solo Wargaming. To simulate Blue's caution, his force arrives at a rate of 2 units per turn on the Eastern edge of the board. Blue's objective is to either get three units off the West edge or to completely destroy the Red force that is blocking his way. It is highly unlikely that Red can defeat Blue in a straight fight but he can delay him. Game length is 15 turns or when both sides reach Exhaustion Point.

Position at the start

Turn 2 Blue's force slowly arrives


Blue's build up is complete - Red begins to give ground


Blue's cavalry is to the rear of Red's force


Running out of room (and at EP), Red must make a stand


At this point Blue could have got enough units off the table to win..

...but chose instead to destroy the invading Redinan force and win that way. Harsh.

A great scenario and a fun game.